Ledger.com/Start® | Getting started — Ledger
In the world of cryptocurrency, security is a top priority. As digital assets like Bitcoin, Ethereum, and other altcoins continue to grow in popularity, ensuring the safety of your holdings becomes essential. A hardware wallet is one of the most secure ways to store your crypto assets, and Ledger is one of the most trusted brands in the market. In this blog post, we’ll walk you through the simple process of setting up your Ledger hardware wallet via the official website, ledger.com/start.
What is a Ledger Hardware Wallet?
Before diving into the setup process, let’s take a quick look at what Ledger is and why you might want to use it.
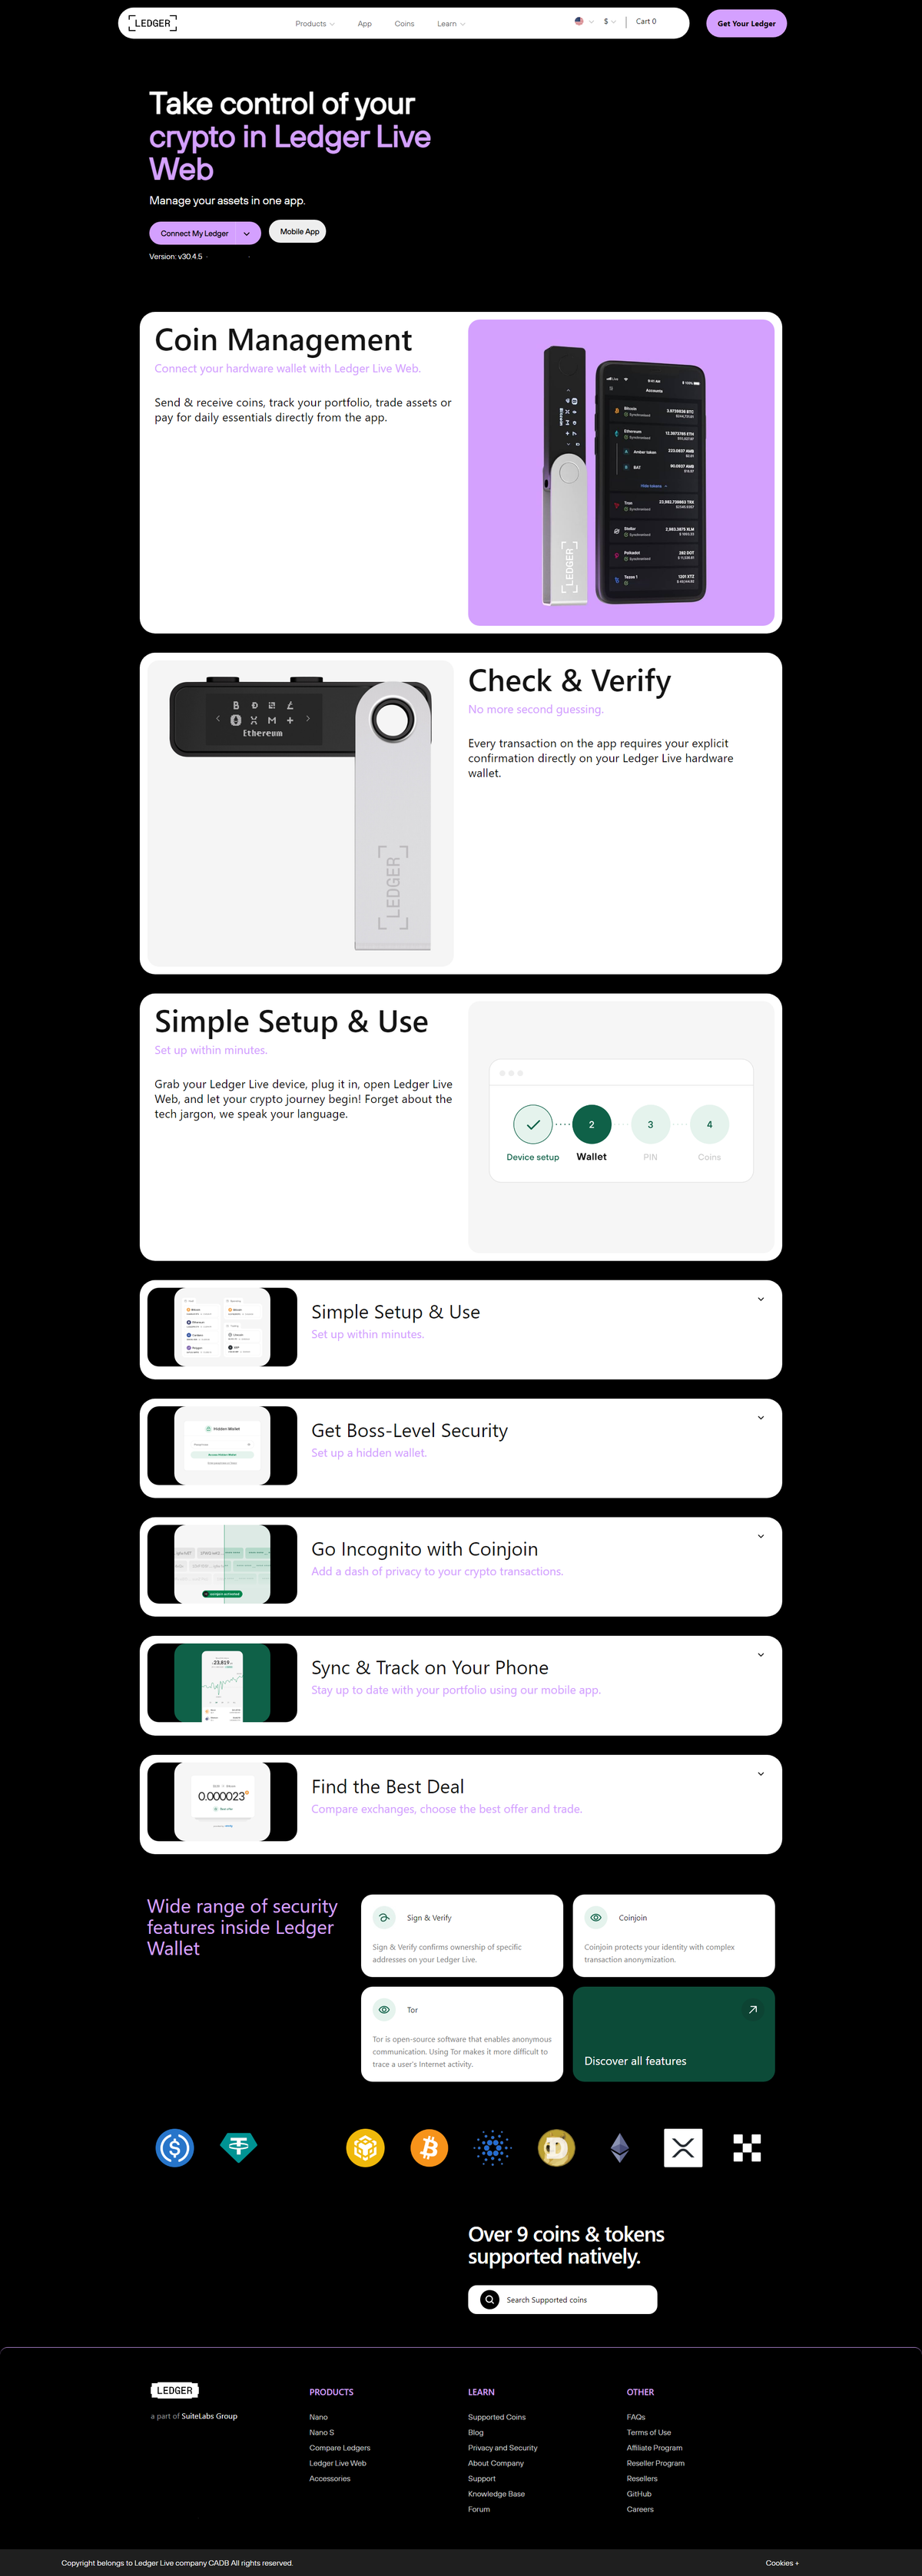
Ledger is a company that specializes in hardware wallets—physical devices designed to store your private keys offline. This is important because private keys are the crucial cryptographic information that grants access to your cryptocurrency. If a hacker gains access to your private keys, they can steal your funds. With a Ledger wallet, your private keys never leave the device, making it one of the safest ways to store crypto.
Ledger wallets support a wide range of cryptocurrencies, including Bitcoin (BTC), Ethereum (ETH), Litecoin (LTC), and many others, and they come in two main models:
- Ledger Nano S Plus: A budget-friendly option that’s great for everyday crypto users.
- Ledger Nano X: A more advanced model with Bluetooth capabilities, allowing you to connect it to your mobile phone for more convenient use on the go.
Getting Started with Ledger: Step-by-Step Setup
Now that you have your Ledger wallet, let’s get started with the setup process. Head over to ledger.com/start to begin the installation. Below is a detailed, step-by-step guide to help you through it.
Step 1: Unbox Your Ledger Wallet
First, unbox your Ledger device carefully. Inside the box, you’ll find:
- The Ledger hardware wallet (either Nano S Plus or Nano X)
- A USB cable (for connecting to your computer or phone)
- A set of recovery sheets (used for securing your wallet’s recovery phrase)
It's crucial to keep your recovery phrase secure because it’s the only way to recover your wallet if your Ledger is lost, damaged, or stolen.
Step 2: Visit ledger.com/start
Go to ledger.com/start on your browser. This page will guide you through the process, ensuring you don’t miss any critical steps during setup.
Step 3: Download Ledger Live
Ledger Live is the official app that helps you manage your Ledger hardware wallet. You’ll need to download and install this app on your computer or smartphone.
- For desktop users, it’s available for Windows, Mac, and Linux.
- For mobile users, you can download the Ledger Live app on iOS or Android devices.
Once downloaded, open the Ledger Live application, and it will prompt you to start the setup process.
Step 4: Initialize Your Ledger Device
When you first power on your Ledger device, it will ask you to either Set up as a new device or Restore from a recovery phrase.
- If you’re using your Ledger for the first time, choose Set up as a new device.
- If you’re recovering an existing wallet, select Restore from a recovery phrase.
For a new setup, the device will prompt you to choose a PIN code. This PIN code protects the device from unauthorized access. Make sure it’s something you’ll remember but difficult for others to guess. It’s typically 4-8 digits long.
Step 5: Write Down Your Recovery Phrase
This is perhaps the most critical step in setting up your Ledger wallet. The device will generate a unique 24-word recovery phrase for you. Write this phrase down on the provided recovery sheet—do not store it digitally or online, as that increases the risk of it being hacked.
The recovery phrase is your backup in case your Ledger wallet is lost, stolen, or damaged. With this phrase, you can restore your wallet on another Ledger device. Make sure you store it in a safe, secure place.
Step 6: Verify Your Recovery Phrase
Once you’ve written down your recovery phrase, the Ledger device will ask you to verify the words in the correct order. This step ensures that you’ve recorded the correct recovery phrase.
Step 7: Install Apps on Your Ledger Device
Now that your device is set up, you’ll want to start adding cryptocurrency apps (e.g., Bitcoin, Ethereum, etc.) to your Ledger. Within the Ledger Live app, you can browse the App catalog and install the necessary apps.
- Go to Manager in the Ledger Live app.
- Choose which cryptocurrency you want to install (e.g., Bitcoin or Ethereum).
- Click Install, and the Ledger device will automatically install the selected app.
Once installed, you can begin using the apps to send and receive cryptocurrency securely.
Step 8: Secure Your Ledger Device
To ensure maximum security:
- Enable two-factor authentication (2FA) for any services that support it.
- Always use strong, unique passwords for exchanges and wallets that you link to your Ledger.
- Regularly update the firmware on your Ledger device to ensure you’re protected from the latest security threats.
Tips for Maintaining the Security of Your Ledger Wallet
- Backup Your Recovery Phrase Properly: Store your recovery phrase in a secure physical location, such as a safe. You can also use a steel backup to protect it from fire or water damage.
- Use a Strong PIN: Don’t choose obvious PIN codes, like “1234” or “0000.” A unique PIN provides an additional layer of security.
- Be Aware of Phishing Scams: Always double-check the website you’re using (ledger.com/start) and avoid clicking links from unsolicited emails. Phishing attacks can lead to your private keys being compromised.
- Update Your Firmware Regularly: Ledger frequently releases firmware updates to patch vulnerabilities. Make sure you’re always using the latest version.
Conclusion
Setting up your Ledger wallet at ledger.com/start is a simple and secure process that ensures your cryptocurrency assets are safe from hackers and other security risks. By following the steps outlined above, you can quickly get your Ledger wallet up and running, store your private keys offline, and manage your crypto with confidence.