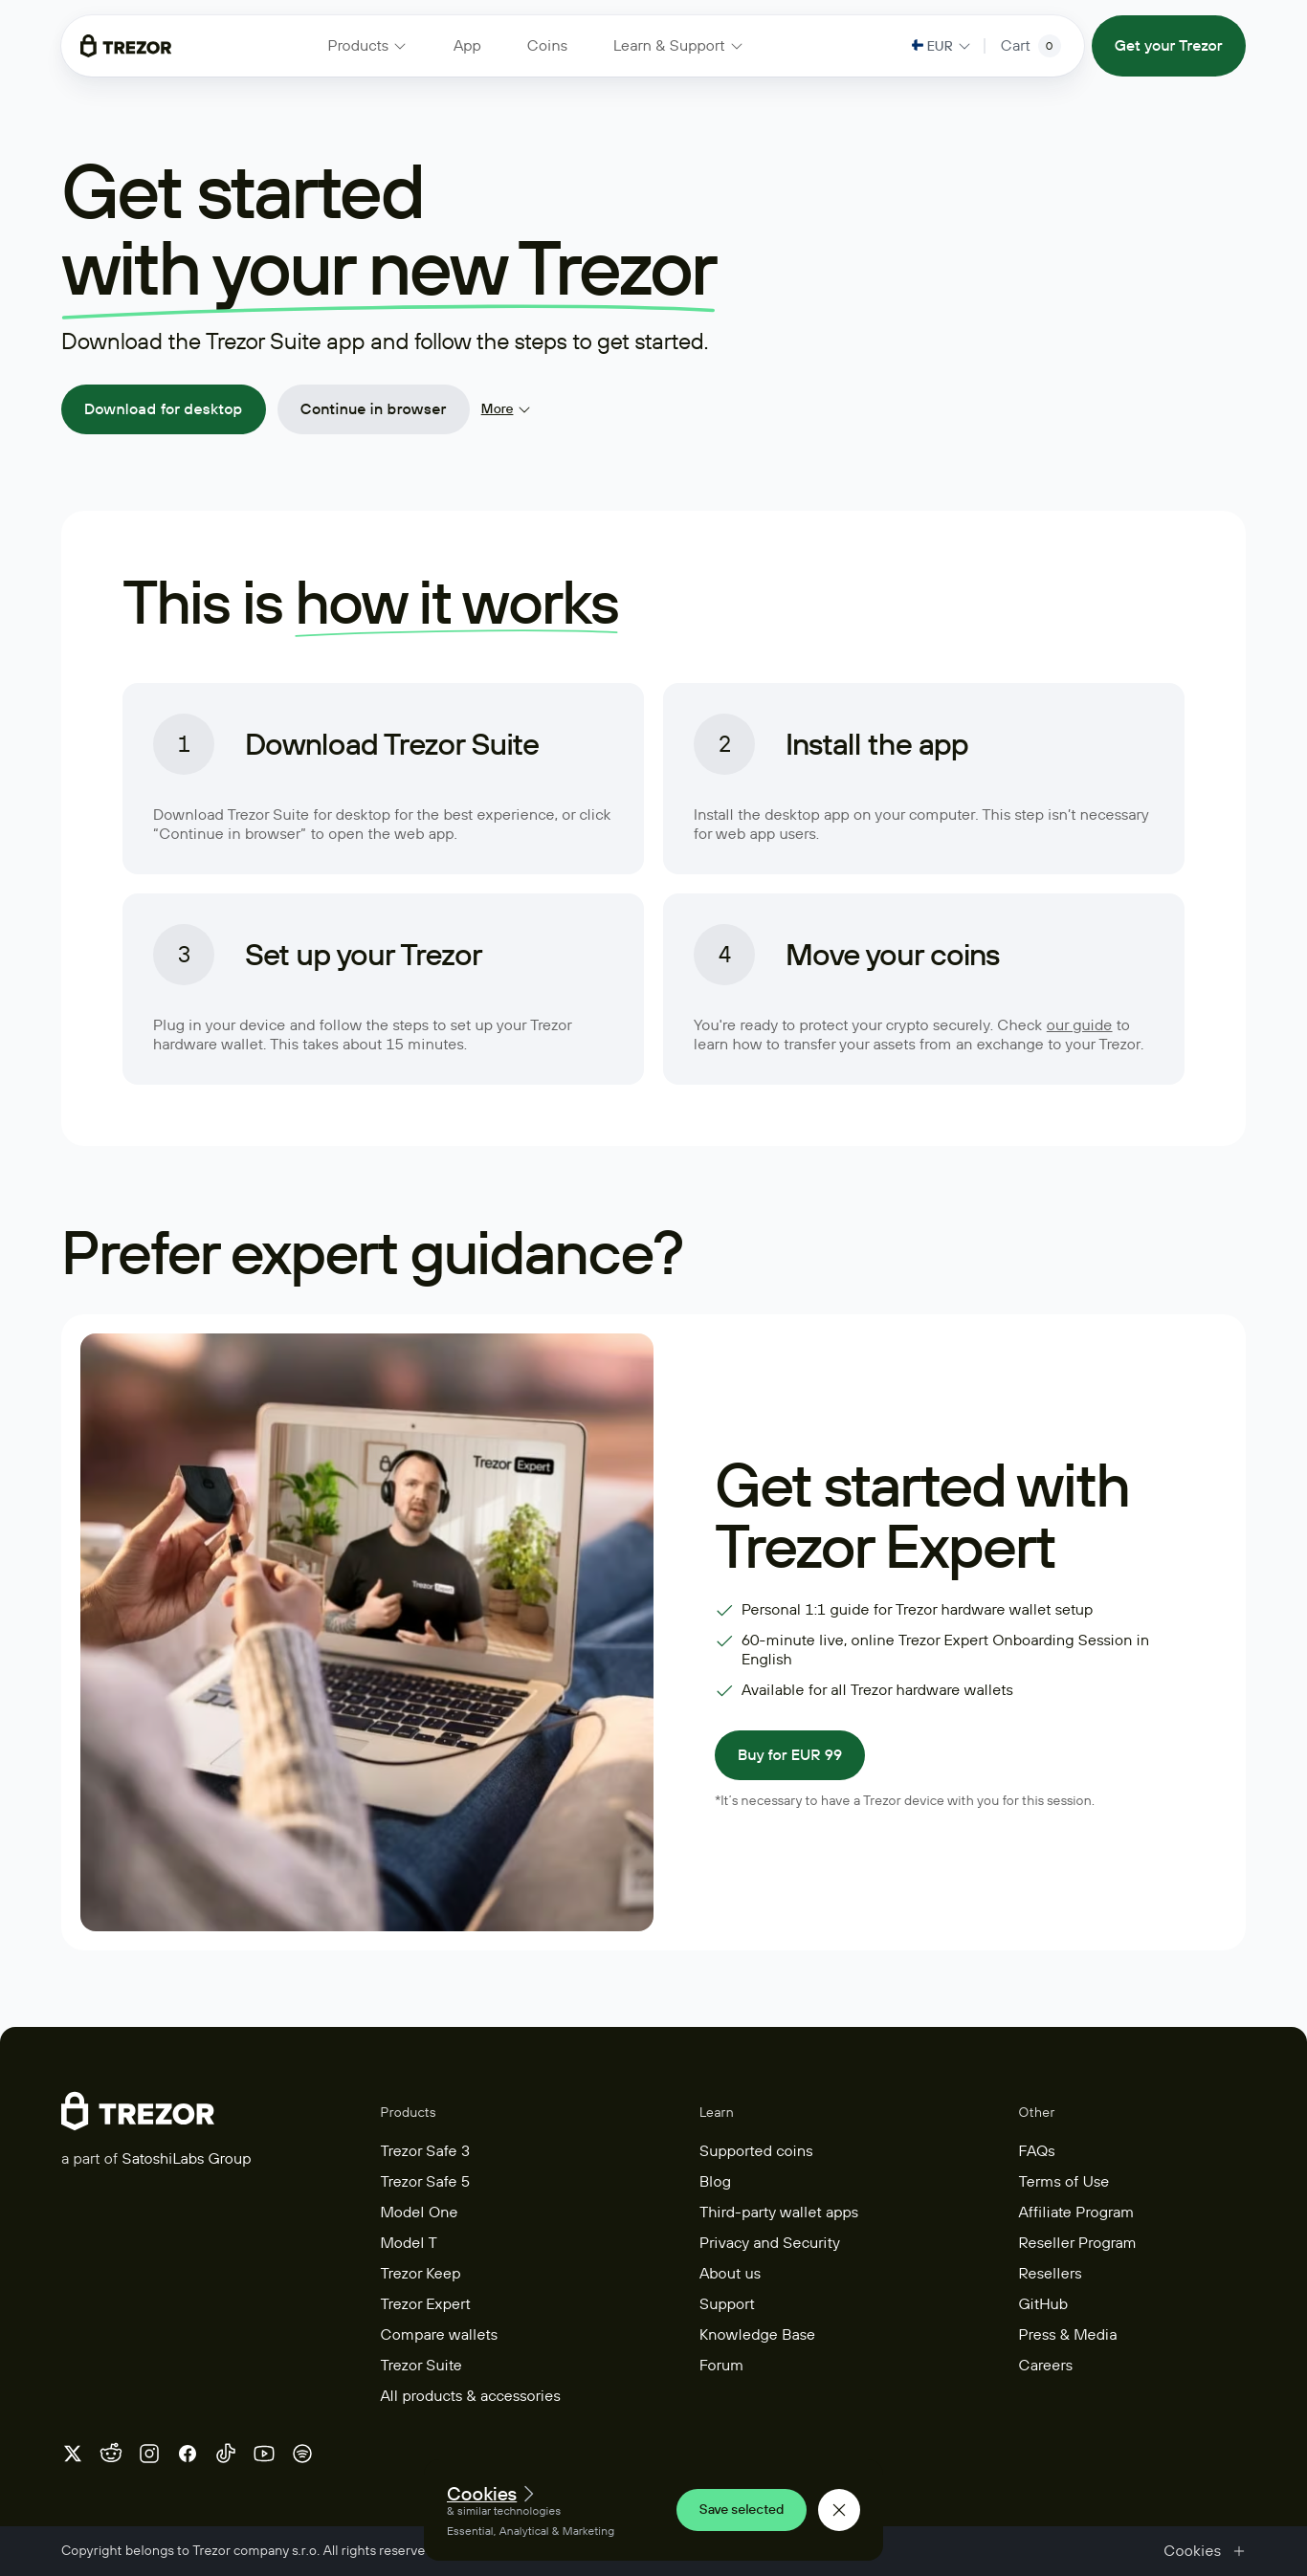
Trezor.io/Start® | Trezor Suite App (Official) | Trezor®
In the ever-evolving world of cryptocurrency, securing your digital assets has never been more critical. While exchanges and hot wallets are popular, they are vulnerable to hacks and unauthorized access. This is where Trezor hardware wallets come into play, providing a safe and secure solution for managing your Bitcoin, Ethereum, and other digital assets.
In this guide, we will walk you through how to set up your Trezor hardware wallet using Trezor.io/start. Whether you’re a seasoned crypto enthusiast or a beginner, this simple and straightforward process will ensure that you can store your cryptocurrency safely and efficiently.
What is Trezor?
Trezor is one of the most trusted brands in the cryptocurrency hardware wallet space. It offers secure, offline storage for your digital assets. Unlike online wallets, which are susceptible to cyber-attacks, Trezor wallets store your private keys offline, keeping your assets safe from hacks.
The Trezor wallet comes in two models:
- Trezor One – An affordable, compact option for beginners.
- Trezor Model T – A more advanced version with a touchscreen, supporting additional cryptocurrencies and features.
Why Choose Trezor Hardware Wallet?
- Unparalleled Security: Trezor wallets store your private keys offline, making them highly secure.
- User-friendly: The setup process is easy, even for beginners.
- Multi-Currency Support: Trezor supports thousands of cryptocurrencies, including Bitcoin, Ethereum, Litecoin, and more.
- Backup and Recovery: Trezor comes with a recovery seed, ensuring that you can recover your funds if your device is lost or stolen.
- Open-Source Software: Trezor’s software is open-source, which adds transparency and community-driven development.
Setting Up Your Trezor Wallet via Trezor.io/start
Setting up your Trezor wallet for the first time is a simple process. Here’s a detailed step-by-step guide on how to do it.
Step 1: Unbox Your Trezor Device
When you first receive your Trezor hardware wallet, unbox it carefully. Inside the package, you’ll find the following items:
- Trezor Device: This is your hardware wallet.
- USB Cable: For connecting the device to your computer.
- Recovery Seed Card: This is a crucial part of the setup process.
- Instructions: A quick start guide to help you through the process.
Ensure that you only use the device and accessories from the official Trezor website to avoid counterfeit products.
Step 2: Go to Trezor.io/start
Once your device is unboxed, go to Trezor.io/start on your computer or mobile browser. This is the official setup page provided by Trezor, where the entire setup process is laid out clearly.
Step 3: Connect Your Trezor Device
Now, connect your Trezor device to your computer using the USB cable provided. Your Trezor wallet will automatically power on, and you’ll see the Trezor logo on the device screen.
Step 4: Install Trezor Bridge
If this is your first time setting up your device, you may need to install Trezor Bridge. Trezor Bridge is the software that enables communication between your hardware wallet and your computer. This step is essential for syncing your Trezor wallet with the Trezor web interface.
Click on the "Install Trezor Bridge" button on the Trezor.io/start page to download the necessary software. Follow the installation instructions specific to your operating system (Windows, macOS, or Linux).
Step 5: Set Up a New Wallet or Restore an Existing One
After installation, you’ll be prompted with two options:
- Set up a new wallet – If you’re a first-time user, select this option.
- Restore an existing wallet – If you’re recovering a wallet from a backup, select this option.
For new users, click “Create New Wallet”.
Step 6: Write Down Your Recovery Seed
One of the most important steps in setting up your Trezor wallet is to write down your recovery seed. This is a 12 to 24-word phrase that will allow you to recover your funds if your device is lost, stolen, or damaged.
Trezor will display the recovery seed on its screen. Write it down on paper and keep it in a secure location. Do not store it digitally, as it could be compromised if your device is hacked.
Step 7: Confirm the Recovery Seed
To verify that you’ve written down the recovery seed correctly, Trezor will ask you to select the words in the correct order. This ensures that you can recover your funds if needed.
Step 8: Set Up a PIN Code
Next, you’ll be prompted to set up a PIN code for additional security. This PIN will be required every time you access your Trezor device. Choose a strong and memorable PIN to prevent unauthorized access.
Step 9: Install the Trezor Suite
The next step is to install the Trezor Suite software, which is the official desktop application for managing your cryptocurrency assets. The Suite allows you to view your portfolio, send and receive funds, and more.
Download the Trezor Suite from the Trezor.io/start page and follow the on-screen instructions for your operating system.
Step 10: Transfer Funds to Your Trezor Wallet
Once your Trezor wallet is set up, you can begin transferring funds to it. To receive crypto, simply click on the “Receive” button in the Trezor Suite. You will be given a unique receiving address, which you can use to transfer cryptocurrency from your exchange or other wallets.
Conclusion
Setting up your Trezor hardware wallet via Trezor.io/start is an essential step in securing your cryptocurrency. With the rise of cybercrime and exchange hacks, using a hardware wallet like Trezor is one of the safest ways to protect your digital assets.